Showing posts with label cupcakes. Show all posts

Wednesday, October 28, 2009

Cupcake Ronald Reagan, or How I Spent My Summer Vacation

So yeah, I was that blogger. Just disappeared for 5 months! Well, to catch you up, my husband and I sold two condos and bought and moved to a house, we went on a vacation to the East Coast, and celebrated our son's first birthday. Also, I did some baking! I had a few special projects that I worked on during the blog hiatus, so I'll be posting those soon (promise!).

Anyway, onto the Cupcake Reagan. This was an ambitious undertaking that I pulled off in one muggy June afternoon. Looking back, I'm not sure how I accomplished that, but maybe it has something to do with the fact that my son was eight months at the time and much less mobile than he is now. This was baked for a fundraiser/party that had a Ronald Reagan theme, and was inspired by the cupcake mosaics of Barack Obama that appeared around election time last year. The portrait was made out of 100 cupcakes, all vanilla if I remember right, and was created by placing a grid over the Reagan logo that had been designed for the party T-shirts. Here is the original design (I did not design it, but the a lovely and talented friend did):

n17209205_37587637_7662089

I took the top portion of the photo and cropped it until it was square, then placed a grid over the photo that divided it into 100 equal-sized squares. Once the cupcakes were baked and cooled, I simply followed the grid and piped star-dots on the cupcake that corresponded to the appropriate square on the picture grid. I used three colors of frosting: white vanilla, blue vanilla, and chocolate. Honestly, I had no idea if thistechnique was going to turn out, but it seemed to work! I only have the one picture of it and I didn't even take it. My whole place was covered in frosting and I was pretty frantic trying to get the whole thing finished in time for the party, so getting artistic shots wasn't high on my list. Luckily the decoration went smoothly and quickly, and the cupcakes were a hit, and a friend took a photo at the party:

Reagan Cupcake

This picture was taken from the loft overlooking the cupcake table, I believe. The cupcakes were placed in a 30x30 box that I built from foam core boards and white masking tape. Two layers on the bottom for extra support, because 100 cupcakes are not light. My husband and a friend had the lucky job of getting to transport it from our condo to the party, but they did good and everything made it there intact. Overall, this was a fun project, and I may attempt it again with someone else's face in the future.

Wednesday, April 29, 2009

Flavors of Spring

When the weather turns warm, my cravings start to gravitate toward those of the fruit variety. Behold, I give you the Strawberry Cupcake!


These cupcakes were made for some dear friends of mine that I had lunch with last week (yes, I'm late posting these but better late than never!). The cake is vanilla with pieces of strawberry mixed in the batter. I used my usual vanilla cake recipe and added about 2 cups of quartered strawberries, mixing them in right before dividing them into the cupcake pan. The frosting is strawberry butter cream based on this recipe. I loosely follow it and adjust it based on how it's tasting as I add the sugar, and also on the consistency I need. Using strawberries in the frosting can make it a little runny, so it needs to be played with a bit to get it just right. Also, that particular recipe makes a LOT of frosting, so you may need to adjust it unless you are making more than 2 dozen cupcakes. The really great thing about this frosting (aside from it's scrumptiousness) is the color. That pink is all-natural, no artificial coloring needed!
These cupcakes are not only delicious, but also showcase my new-found frosting abilities! Don't you just love the little rosettes? So sweet! Just like a strawberry cupcake :).

Tuesday, March 3, 2009

Fun with Fondant (today's post brought to you by the letter "F")


Over the weekend I decided to try my hand at making fondant. I have never used it before, but I really did NOT want to use a store-bought, nasty-tasting mix. Imagine my great delight when I discovered that it can be made from marshmallows! That's right, melted marshmallows and powdered sugar can combine to create a nice, smooth sugar dough that can be rolled out and cut into shapes to top a cupcake, and it's yummy! Since I just looked at several recipes online and then just sort of winged it, my advice if you want to try this is to just google "marshmallow fondant" and see what comes up. There is a good tutorial on cakejournal.com that might be helpful, but I didn't follow that to a T. If I can give you any advice on making this stuff, it would be to rub everything the melted marshmallows will touch with crisco, including the bowl, spoon, and your hands! Also, knead your "dough" on a surface covered in powdered sugar. That will save you from having to scrape marshmallow bits off your coutertops. I let my fondant "rest" for about a day and a half before I used it, but I know you can use it right away if you like. I had some issues with the pink fondant, and I'm not sure if it's because of the added color or what, but it was more rubbery than the white and had some air-bubbling issues. I'm not quite sure how to resolve that yet, but I'll research it. If you have any questions about making it, just ask me and I'll try to let you know what worked/didn't work.

As for the cupcakes, they are chocolate with chocolate fudge frosting. It's a recipe I've had forever, and I'm not exactly sure where it came from anymore. Someday I may get around to typing it out on here for you though, because it's delish! I used the large star tip to pipe a layer of the frosting on top of the cake, and then topped it with the first piece of fondant. Then I dabbed a small amount of the frosting on the back of the second piece as a "glue" and attached it to the first piece. In hindsight, I shouldn't have been so lazy and should have made some white buttercream to do the attaching, because some of the chocolate frosting leaked out between pieces. Not so classy. Next time!

I think these cupcakes and the fondant toppers would be great for a wedding, showers, etc. There are just so many possibilities with the cut-out shapes and the colors! I really like the way they turned out, so I will probably be using this fondant quite a bit (well, for special occasions at least) in the future. I'd also like to cover a full cake with it at some point, so watch for that!
Enjoy!


Wednesday, February 25, 2009

Cupcakes from Kitchen Stadium...

Today's secret ingredient...

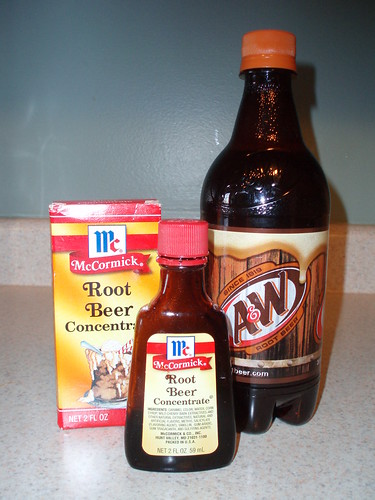
ROOT BEER (and root beer concentrate)!!!

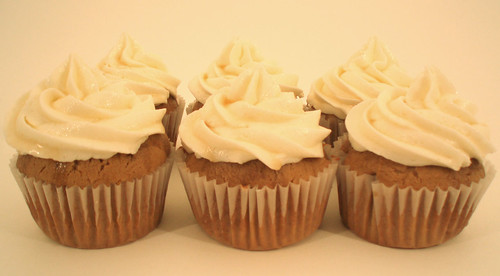
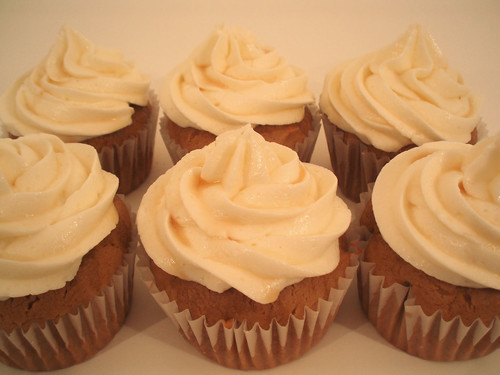
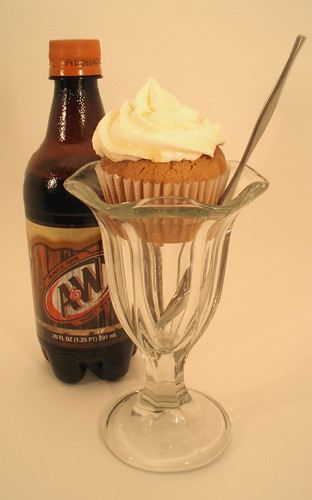
Exciting, I know. Since it was such an uncharacteristically nice day here in the frozen tundra of Nebraska, I was in the mood to make something kind of summery. Well, that and these Root Beer Float cupcakes are always so good (and were a big hit when I sold cupcakes at our farmer's market a couple summers ago). They're pretty easy to make, I just use this basic vanilla cupcake recipe and substitute the root beer concentrate for the vanilla extract. You'll have to use your best judgment on how much concentrate to add, but around 1/2 to 3/4 teaspoon per dozen cupcakes should do it. Just adjust it for how strong you want that root beer flavor to be!

I topped the cake with vanilla buttercream (your basic mix of unsalted butter, powdered sugar, vanilla, and a bit of milk). Before I frosted them, I whipped up a root beer glaze from approx. 1/2 cup of powdered sugar and 4 tablespoons root beer soda. Mix together well in a small bowl (I use a whisk) until a syrup forms and the sugar is dissolved. No heating required! I stabbed my baked cupcake tops with a fork, and then brushed them with the glaze to make them a bit more root-beery. Then I piped on the buttercream using a pastry bag (!) and a 1M large star tip. I think the came out pretty cute, sort of looks like soft-serve ice cream! Also, there is a bit of the glaze drizzled on top of the buttercream for extra effect. What a refreshing cupcake!


Monday, February 23, 2009

Because I love pictures of pretty things...


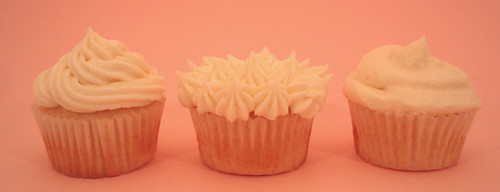
As promised, better photos of my cupcakes with the help of a light box I built. I found the instructions here, and it was a pretty easy and inexpensive process. There are still some adjustments to be made, but I think my cupcake photos will be much better in future posts! And yes, these are the same cupcakes as before, I'll make some new ones soon! I plan to experiment with some homemade fondant in the next couple days. Watch for my new adventures in frosting and decorating!

Friday, February 20, 2009

Cupcake Paparazzi

So I decided I really should try harder to take pretty pictures of my cupcakes (they deserve it!), so today I experimented with my camera, some natural light, and the cupcakes I made last night. These pictures were taken in a window sill, as I live in a condo and have few spots with plentiful natural light.

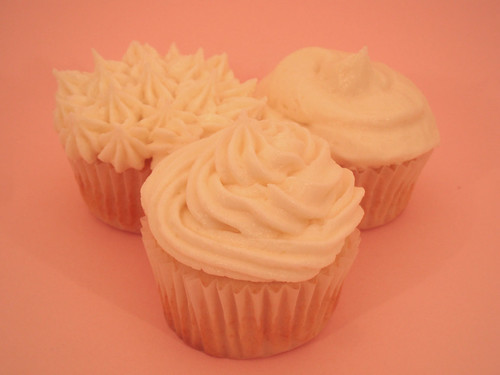
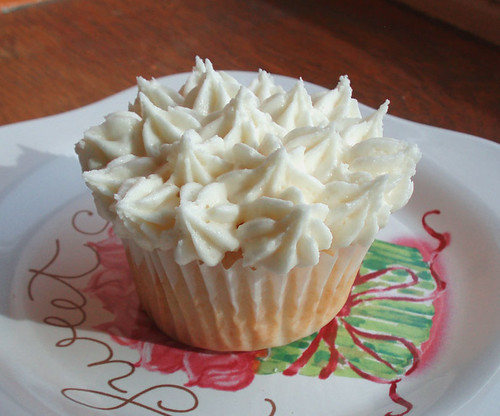
Here is a crazy spiky cupcake that I thought would look like flowers, but really looks kind of like a sea anemone up close.


This one is quite elegant...notice the smooth, calming swirl of buttercream...


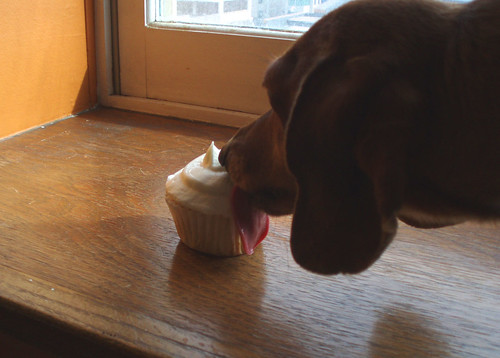
Looks good, right? Well check out who else noticed the swirly buttercream, and joined me in the window sill:


Lucky Dog :)!

Coming soon: Adventures in building a photo light box! (Dachshund-proofed).

Thursday, February 19, 2009

Gotta Respect the Classics

It's always good to start with the basics, so I whipped up a batch of vanilla cupcakes with vanilla frosting. I'm not sure how interesting this will be, but I took some pictures along the way. I use my own recipe that I adapted the batter from this one. That's as much info as I'm willing to share about my recipe... feel free to experiment with your own! Here we go!

Start with the dry ingredients...


Then you mix together the butter, sugar, eggs, and vanilla....


Combine the two with some milk, and divide it among your cupcake papers.


Put your cupcake tin into a 350 degree oven for 20 minutes, and you've got:


Num Yummy, I know! But wait, you're not done yet!

Frosting!! Yes!! I used vanilla buttercream, but I don't have photos of that process because the baby was upset. I don't know what he has against frosting. Anyway, I tried my hand at using a pastry bag, like this:


But in the end, I used my trusty Pampered Chef frosting "gun," it makes such a nice swirly effect.


Ta-da!
So, what have we learned? Well, I know I need to work on my frosting techniques and master the pastry bag. I also learned that my camera kind of sucks, and I'm not so hot at photography yet, so I apologize for this mess. It will get better, I promise!
Well, that was fun. Not bad for a first post!